

If you are considering installing Type 22 radiators in your home but are unsure where to start, this guide will provide you with comprehensive information about these efficient heating units.
From the benefits and advantages of Type 22 radiators to the tools and materials required for installation, all aspects are covered in this guide.
Explore proper placement, sizing, and piping considerations, along with detailed step-by-step instructions for a successful installation.
Additionally, learn maintenance tips to ensure your radiators remain in top condition, and receive expert advice on how to maximise the efficiency of your Type 22 radiators.
Key Takeaways:
- Proper location and placement are crucial for efficient operation of Type 22 radiators.
- Consider the size and capacity of the radiator to ensure it can adequately heat the space.
- Having the necessary tools and materials on hand, and following proper installation and maintenance guidelines, can prolong the lifespan of Type 22 radiators.
Installation Considerations for Type 22 Radiators
When considering the installation of Type 22 radiators, you must assess the location, size, and piping requirements meticulously to ensure optimal performance and heating efficiency.
Location and Placement
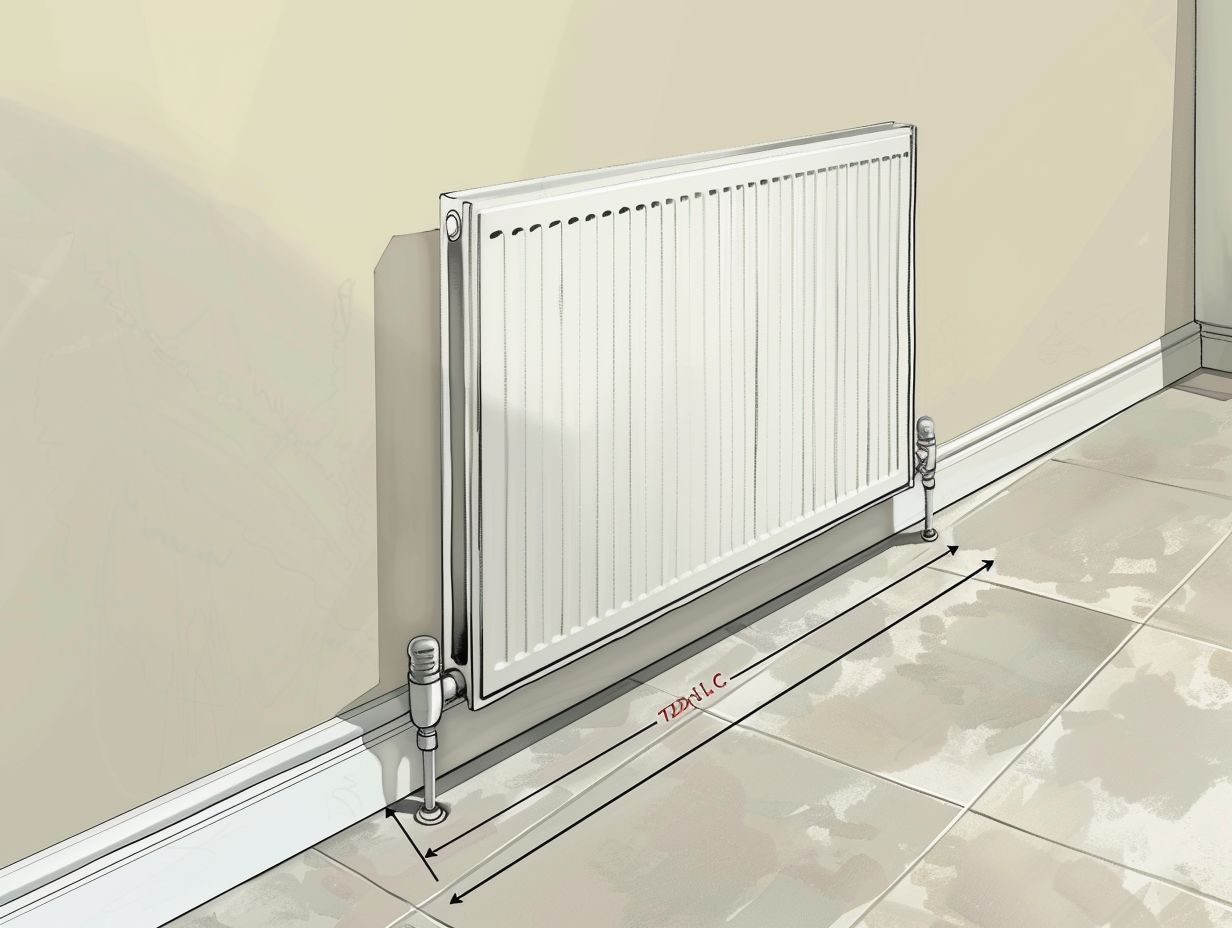
When positioning Type 22 radiators, it is essential for you to choose the right location and proper placement to ensure even heat distribution and optimal performance within a room. It is important to consider wall mounting them to allow for efficient heat dissipation and space utilisation.
Avoid placing the radiators too close to windows, as this may lead to heat loss, and ensure they are not positioned too far from central heating connections, which could result in uneven heating.
Striking a balance between these factors can significantly impact the overall effectiveness of your heating system, providing a comfortable environment and potentially reducing energy consumption.
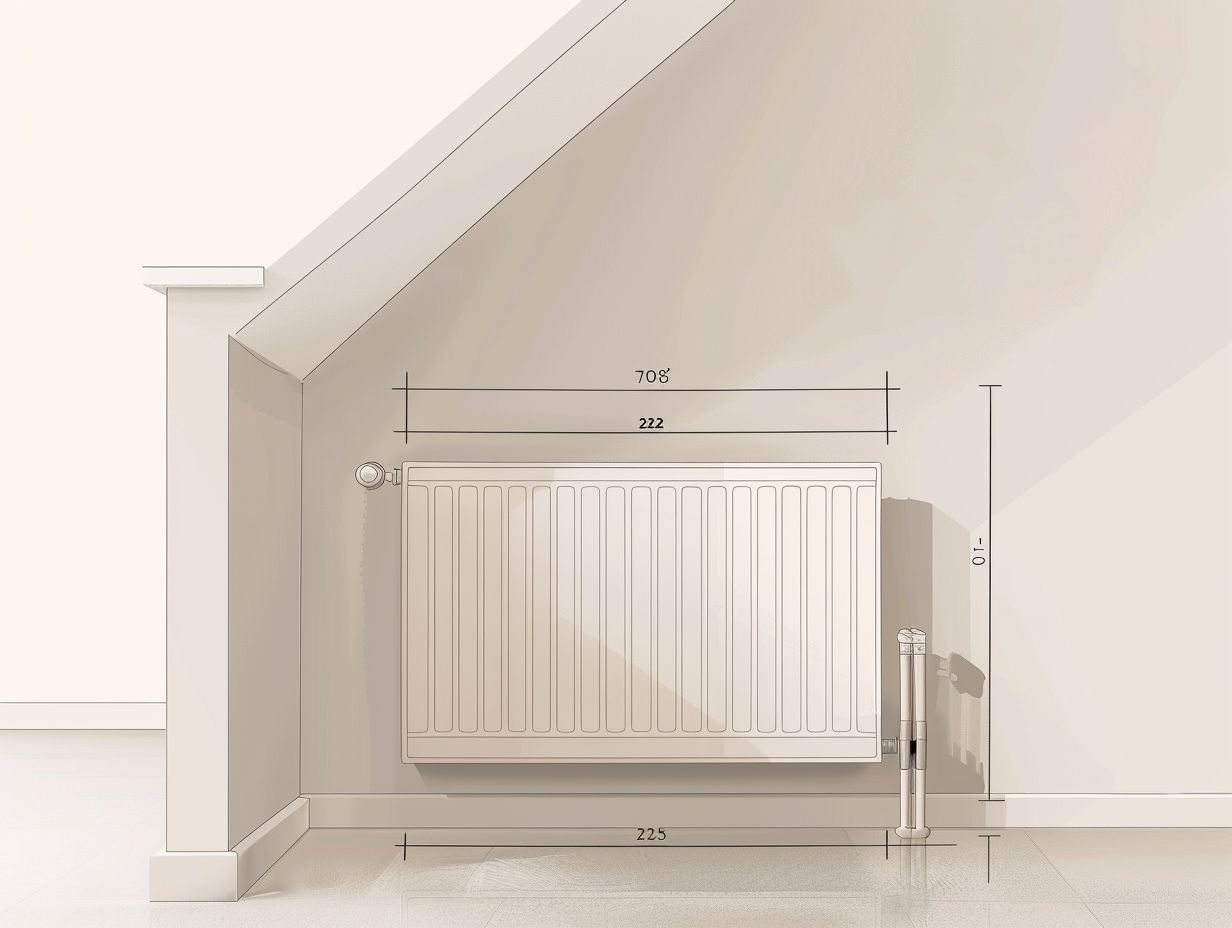
Size and Capacity
Determining the correct size and capacity of Type 22 radiators is crucial for ensuring they can effectively meet the heating demands of the room. Factors such as room dimensions, heat requirements, and BTU calculations all play a vital role in selecting the appropriate radiator size.
Room dimensions impact the space that needs heating, thereby influencing the radiator’s efficiency. Heat requirements are influenced by climate and insulation levels, determining the necessary heat output. BTU calculations assist in aligning the radiator’s output with the room’s heating demands, thus ensuring optimal performance and energy efficiency.
By thoughtfully considering these factors, homeowners can avoid the pitfalls of under or over-sizing radiators, ultimately maximising comfort and cost-effectiveness.
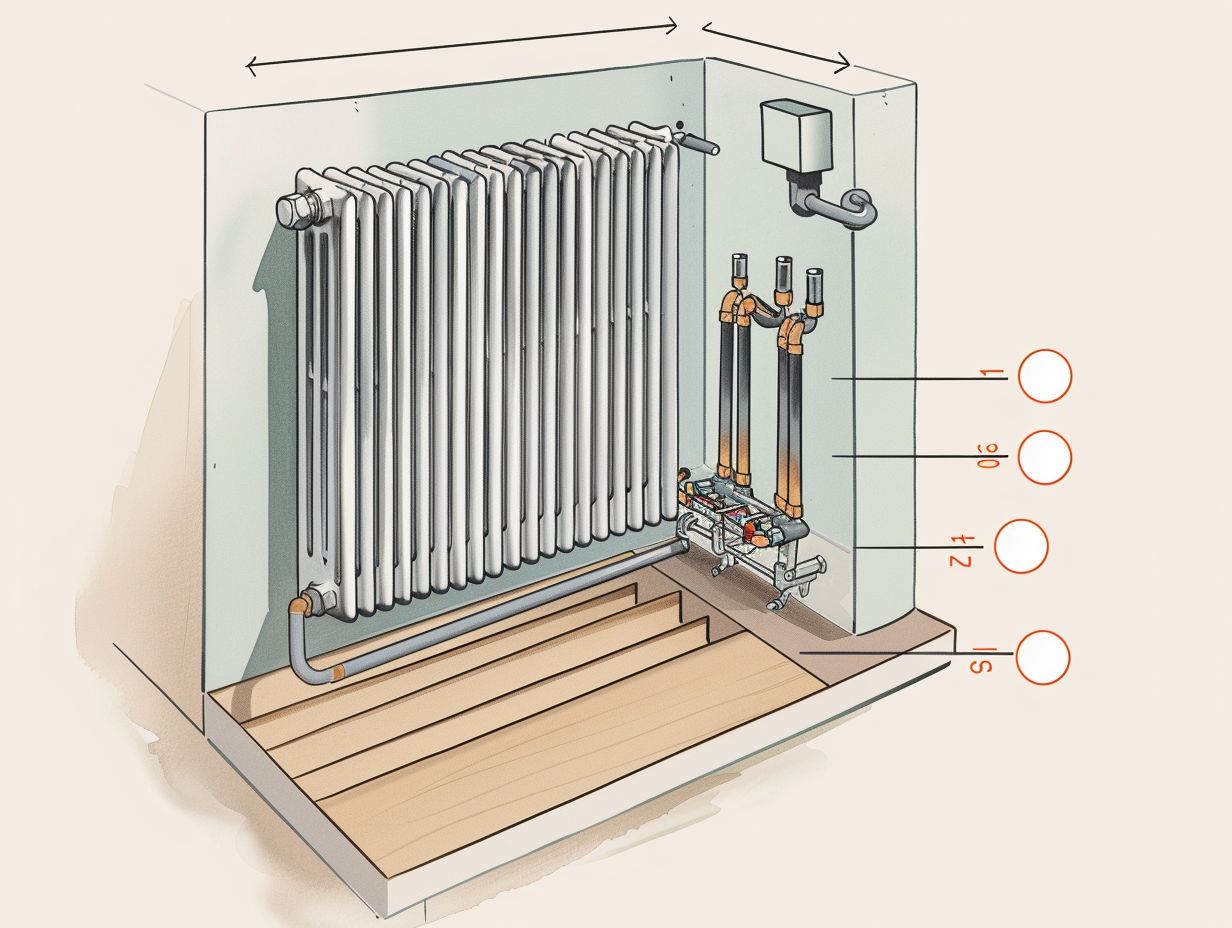
Piping and Plumbing Considerations
Properly addressing piping and plumbing considerations is essential when installing Type 22 radiators to ensure seamless integration with the existing heating system.
When you are installing Type 22 radiators, it is crucial to begin by shutting off the water supply and bleeding the existing radiators to release any pressure.
Next, ensure that the TRVs (Thermostatic Radiator Valves) are accurately positioned on the new radiators to facilitate optimal temperature control.
Apply PTFE tape on the threads of all connections to prevent leaks and guarantee a secure seal.
Before connecting the new radiators to the central heating system, carefully inspect for any debris or blockages in the pipes.
It is important to thoroughly test the system for any leaks or irregularities before putting it into operation.
Tools and Materials Needed for Installation
To successfully install Type 22 radiators, you will need specific tools and materials like brackets, air vents, and PTFE tape. These items are crucial to ensure a smooth and effective installation process.
List of Necessary Items
The items required for installing Type 22 radiators include radiator brackets, air vents, TRVs, PTFE tape, a radiator key, and the necessary piping for connection to the central heating system.
It is important to have a spirit level to ensure the radiator is installed perfectly horizontally. Adjustable spanners are essential for tightening connections, and a pipe cutter will be necessary for cutting the piping to the correct lengths. Thread sealant may be needed to secure threaded connections.
A power drill with appropriate drill bits will be required to mount brackets securely. Additionally, it is advisable to have a cloth on hand for any potential spills or leaks during the installation process.
Step-by-Step Guide to Installing Type 22 Radiators
- Mount brackets securely
- Bleed the radiators to remove any trapped air
- Fit Thermostatic Radiator Valves (TRVs) to control the temperature
- Connect the radiators to the central heating system to ensure optimal performance
Instructions for Proper Installation
- Proper installation of Type 22 radiators requires you to follow precise steps.
- First, ensure accurate bracket positioning, thorough bleeding to remove air, precise TRV fitting, and secure connections to the central heating system.
- Before you start the installation process, it is crucial to shut off the central heating system and allow the radiators to cool down completely.
- Begin by positioning the brackets at the correct heights on the wall, making sure they are level and securely in place.
- When bleeding the radiator, use a bleed key to open the bleed valve until all air is released and water flows consistently.
- For TRV fitting, be certain it is compatible with your system and install it correctly to ensure efficient temperature control.
- Finally, check and tighten all connections to prevent any leaks or issues that may arise during operation.
Maintenance and Care for Type 22 Radiators
Regular maintenance and care are essential for ensuring the longevity and optimal performance of your Type 22 radiators. This includes tasks such as bleeding, cleaning, and checking for any leaks or valve issues.
Tips for Keeping Radiators in Good Condition
To maintain your Type 22 radiators in good condition, it is recommended that you:
- bleed them regularly,
- check for cold spots,
- clean the surfaces, and
- adjust the radiator valves to ensure optimal heat output.
Bleeding your radiators is essential to release any trapped air and promote efficient heat distribution throughout your system.
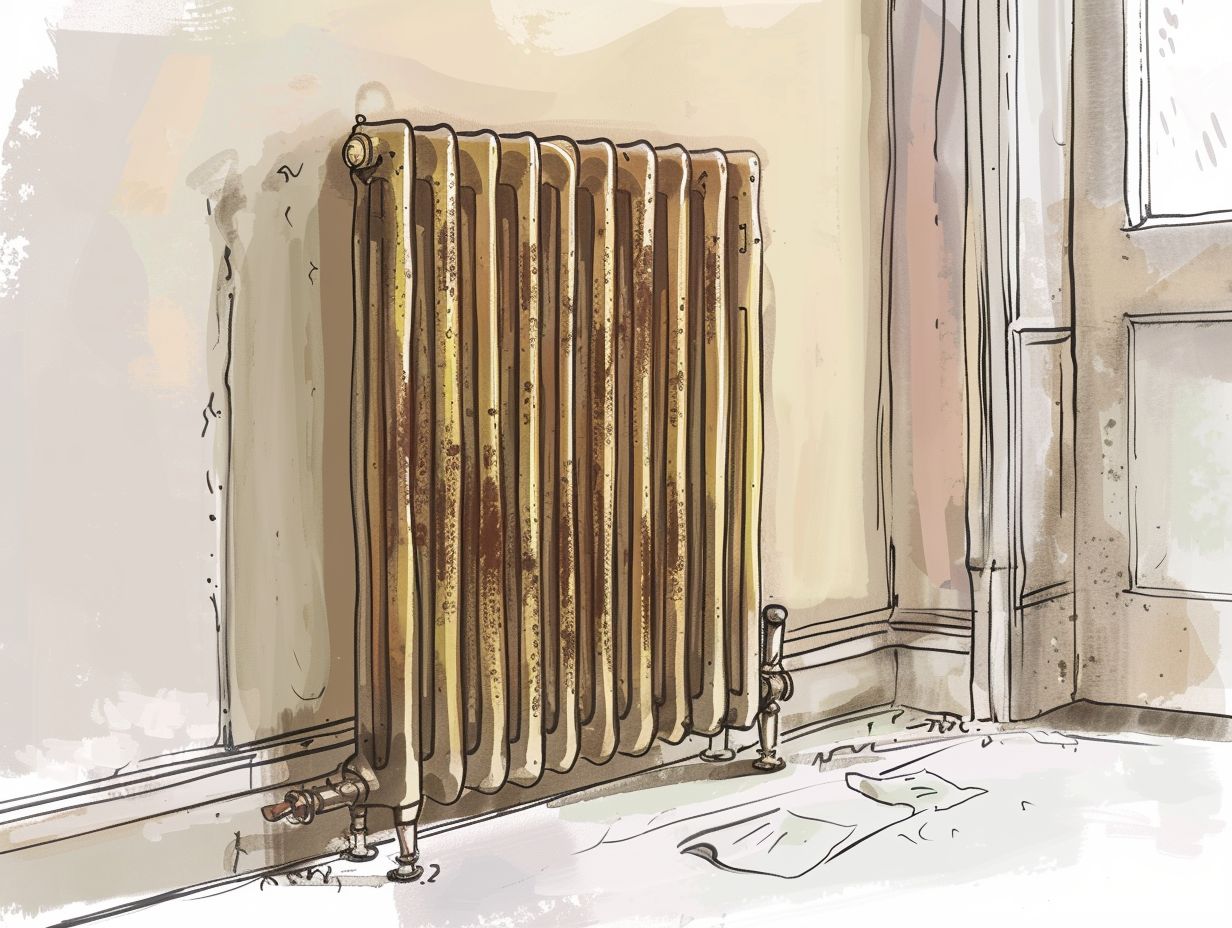
It is important to inspect the radiators for visible leaks or signs of corrosion, as addressing these issues promptly can prevent more significant problems down the line. Installing a magnetic filter can help prevent the build-up of sludge, which can hinder the performance of your radiators.
Regularly monitoring the pressure levels in your system can also aid in identifying any irregularities early on. Additionally, proper insulation around your radiators can enhance their efficiency and heat retention, leading to potential energy cost savings.
Frequently Asked Questions
What Are the Installation Considerations for Type 22 Radiators?
Type 22 radiators are a popular choice for heating systems, but there are some important considerations to keep in mind when installing them. Here are some frequently asked questions about the installation process.
What is a Type 22 radiator?
A Type 22 radiator is a type of central heating radiator that has two panels and two convectors. This makes it a more efficient and powerful choice for heating a room compared to a Type 11 radiator, which only has one panel and one convector.
Do I need any special tools or equipment to install a Type 22 radiator?
Installing a Type 22 radiator is a relatively straightforward process, but you will need some basic tools such as a pipe cutter, adjustable wrench, and spirit level. You may also need a radiator key to bleed the system and release any trapped air.
What should I consider when choosing the location for installation?
When choosing the location for your Type 22 radiator, it’s important to consider the size and shape of the room, the position of existing pipes, and any potential obstructions such as furniture or curtains. You should also make sure that the radiator is not installed too close to electrical outlets or appliances.
Can I install a Type 22 radiator myself or do I need a professional?
The installation of a Type 22 radiator can be done by someone with basic DIY skills, but it’s always recommended to hire a professional if you are unsure about any aspect of the process. This will ensure that the radiator is installed correctly and safely.
Are there any safety considerations I should be aware of?
When installing a Type 22 radiator, it’s important to follow all safety guidelines and precautions. This includes turning off the electricity and the water supply before beginning the installation, and making sure all connections are secure and leak-free before turning the system back on.
Do I need to bleed my Type 22 radiator after installation?
Yes, it’s important to bleed your Type 22 radiator after installation to remove any trapped air and ensure that it is functioning properly. This can be done by using a radiator key to open the bleed valve and releasing any air until water starts to come out. You may need to repeat this process a few times to fully bleed the system.